"The Pit" Walkthrough
NOTE: This is a cross post from my Tumblr. It was originally uploaded on January 26th, 2012. This level was originally conceived as an underground pit/abandoned mine that has been converted to an arena for blood sport, Unreal Tournament style. I really enjoyed designing the level, particularly the lighting work with the sky light and the use of solid meshes for adding personality as well as providing cover.
This past week, I have successfully created my first original map for Unreal Tournament 3 using the UDK Beta (2009-11 version) as part of a school assignment. Here is a brief walkthrough with extensive screen shots of the level.
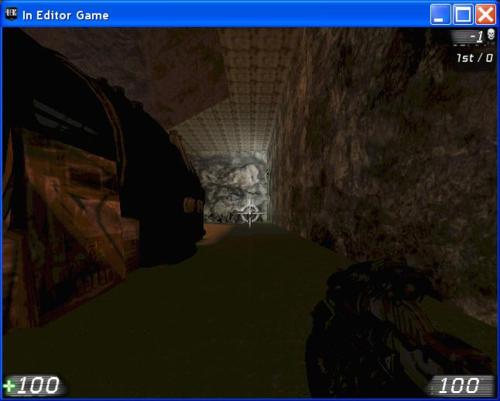
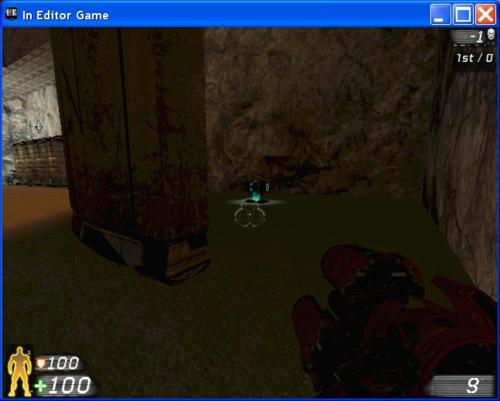
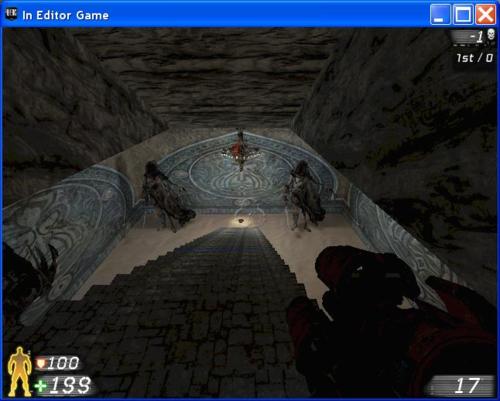
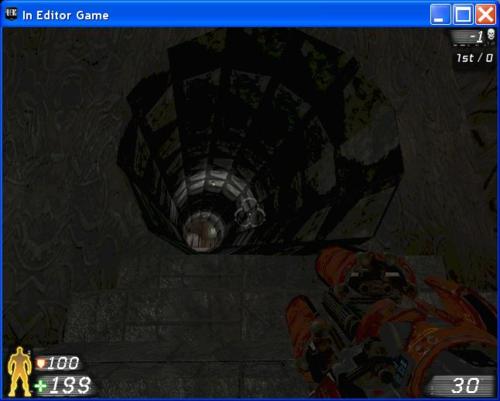
This is what the player sees upon initial spawn. I’ve hidden the spawn point behind a large piece of machinery to provide some cover for the player so that he or she isn’t instantly fragged the moment they enter the world.
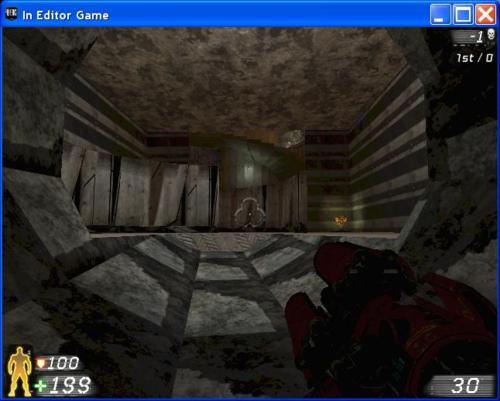
This is a view of the first room from the end of the machinery covering the initial spawn point. You can’t really see it in this screen shot, but there is a rocket launcher directly ahead of the player, just to the right of the crosshairs (next to the big tanks the player is staring at).
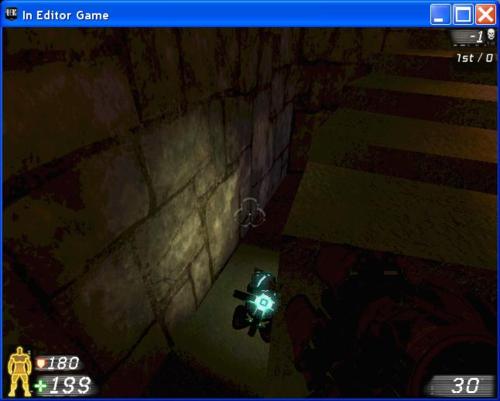
This is the shield belt hidden behind the rubble directly in front of the player spawn point. It is just to the right of the player in the previous screen shot. The shield belt provides 100 points of armor that completely covers the player, unlike the localized armor provided by the chest plate & shin guards.
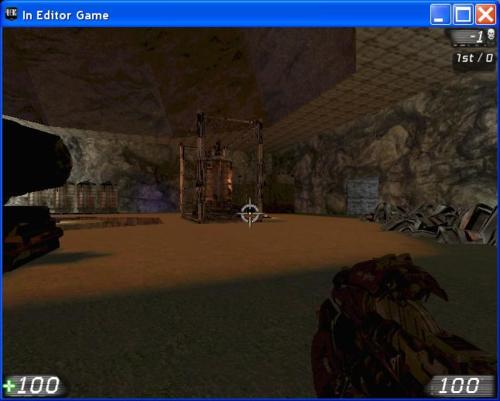
The afore mentioned rocket launcher in the middle of the player’s spawn room. If you look behind the wall just ahead of the player, you find a nice surprise.
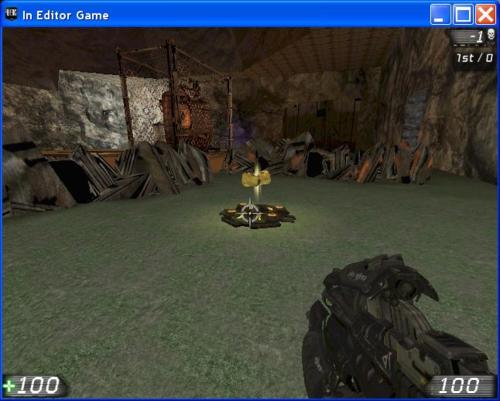
A super health pack behind the bunker wall in the corner of the player spawn room! Pick it up & try looking behind the barrels along the wall.
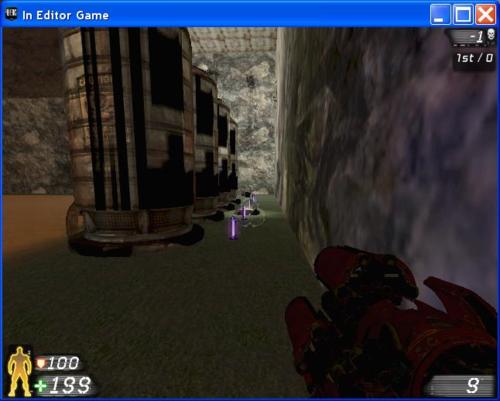
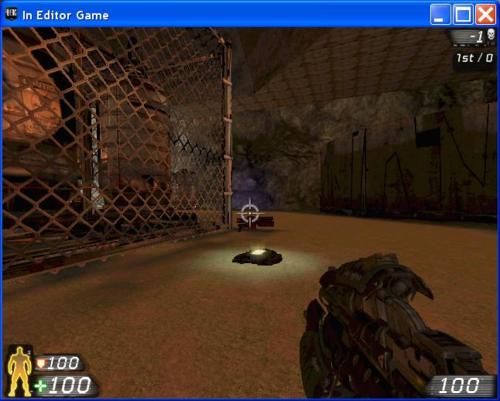
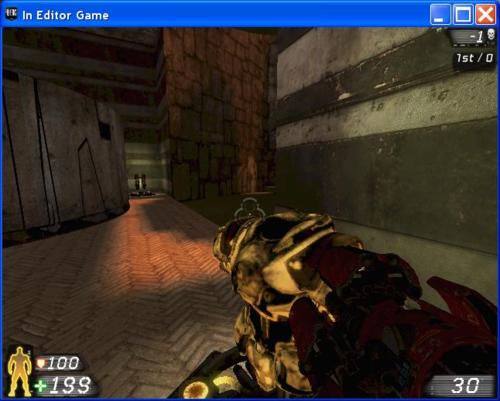
Here we find the shock rifle with quite a bit of ammo. Not as powerful as the rocket launcher, but more out of the way with ammo readily available, in case someone else has already grabbed the rocket launcher.

After picking up the shock rifle, we turn back to the center of the main room to find the rocket launcher ammo at the top of the stairs. Instead of heading downstairs, we’ll continue to the back of the room.
At the back of the first room we find the hall, which we passed earlier when grabbing the rocket launcher & super health.
Which leads us to the statue room.
Look around and you’ll find two packs of extra rocket ammo.
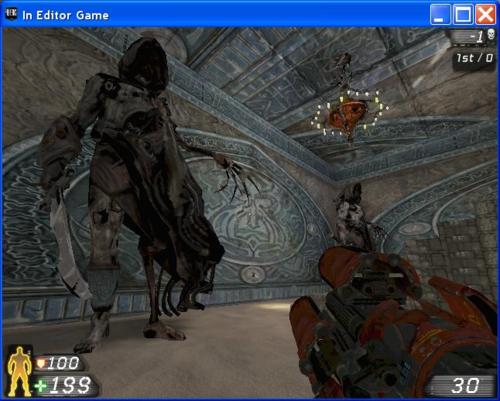
As well as some creepy statues.
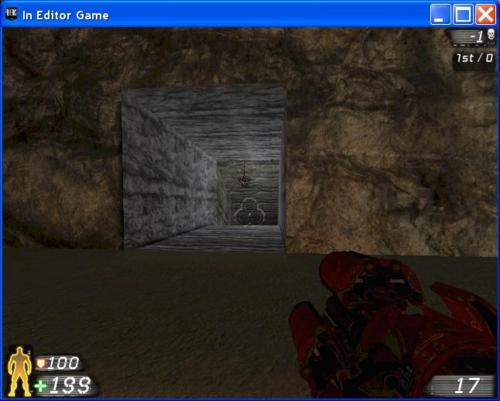
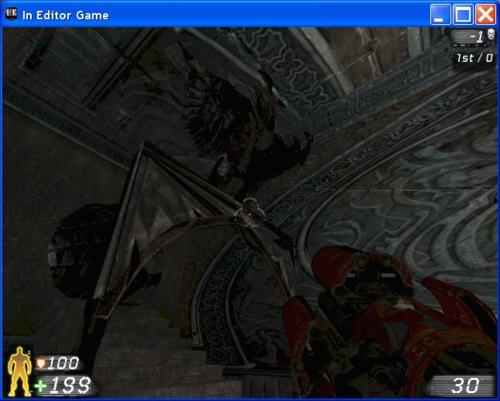
Tunnel exit through the arch in the statue room which leads us too…
The bunker room, named for the offset walls which provide some extra cover for those in the tunnel as well as mixing up the pacing in this room a little more.
And concealing a couple pieces of armor, the chest plate & shin guards.

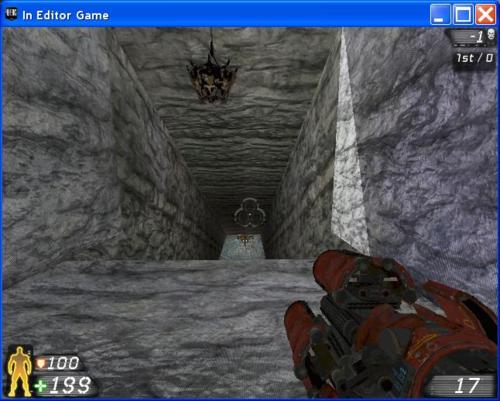
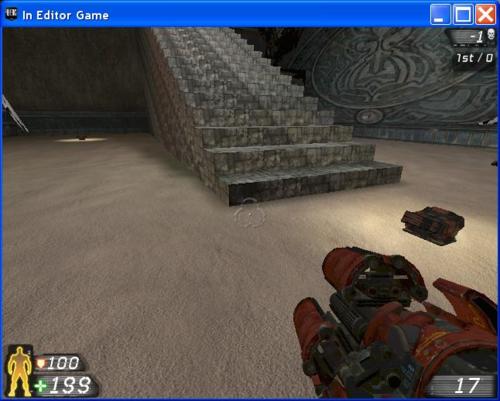
Leaving the bunker room takes us to the stair room.
Where you can find an extra health pack if you keep your eyes open. The stairs lead us back up to the first room, making the map a closed circuit.
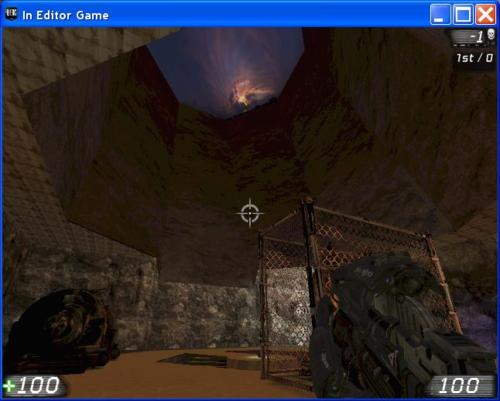
Quick peak of the skylight in the first room, providing all the orange light throughout the level.
Overhead views of the rooms in order of walkthrough traversal:
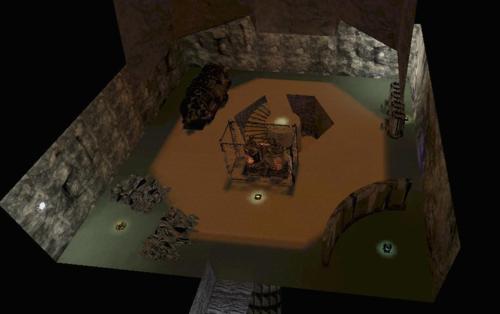
First Room
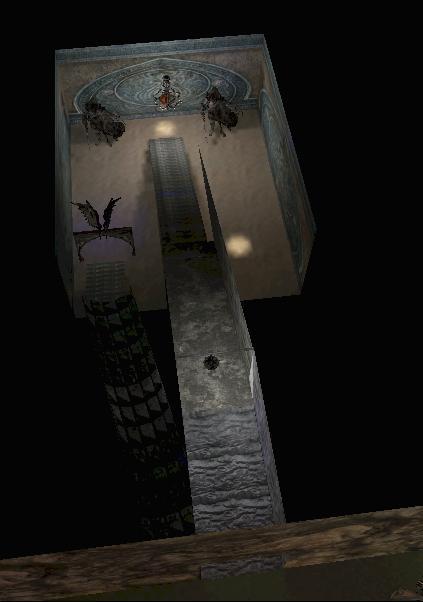
Statue Room
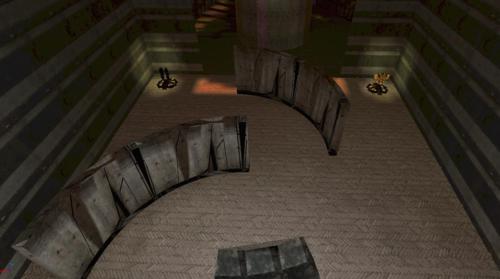
Bunker Room
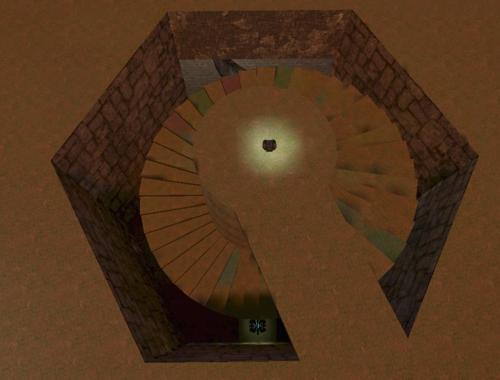
Stair Room